

October 8, 2026
Open Shelving vs. Upper Cabinets: The
Introduction
If you’re working with a narrow kitchen space, you might feel like your design options are limited. But here’s the truth: galley kitchens are among the most efficient and rewarding kitchen layouts to design—when done right-2.
Named after the compact cooking quarters found on ships, a well-designed galley kitchen puts everything you need within arm’s reach. There is no wasted space, and with the right design decisions, even the narrowest of rooms can feel considered, characterful, and entirely your own-2.
In this guide, I’ll walk you through the 10 best galley kitchen layouts for narrow spaces, complete with practical measurements, design tips, and real-world solutions that actually work.
What Is a Galley Kitchen?
A galley kitchen layout is defined by its long, narrow footprint, with cabinetry and worktops arranged along two facing walls and a central walkway running between them-2. It is a layout that prioritises efficiency above all else—and it’s no coincidence that professional restaurant kitchens follow a very similar principle, with stations arranged in parallel rows-2.
There are two main variations:
- Single galley kitchen: Cabinetry along one wall only, leaving the opposite side open—ideal for particularly narrow rooms or spaces that double as a throughway-2
- Double galley kitchen: The more traditional arrangement, making use of both walls for significantly more storage and worktop space-2
Galley kitchens are especially common in period homes, compact city flats, and modern apartments where every square foot counts-2.
The Work Triangle in Galley Kitchens
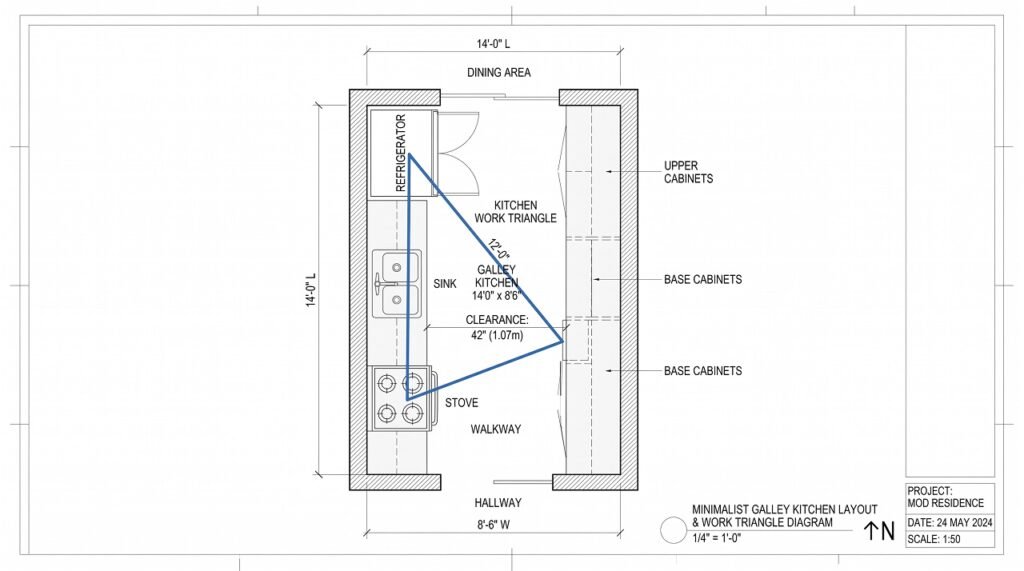
Before diving into specific layouts, you need to understand the kitchen work triangle. This is the path between your refrigerator, sink, and stove—the three most-used points in any kitchen-.
In a galley kitchen, placing these three elements in a compact triangle along the two runs keeps movement minimal and cooking faster-1. The goal is to create a clear route between the key zones while allowing enough room to work comfortably-.
For galley kitchens specifically, the National Kitchen & Bath Association (NKBA) recommends:
- Total combined distance around the triangle: 48–120 inches per leg-
- Minimum safe distance between appliances: 90 cm (about 35 inches) in small kitchens-
10 Best Galley Kitchen Layouts
Here are ten proven galley kitchen layouts, ranked from simplest to most complex, with specific measurements and design considerations for each.
Layout 1: Classic Double Galley (Two Walls, Full Length)
Best for: Kitchens 8–12 feet long with width of 7–8 feet
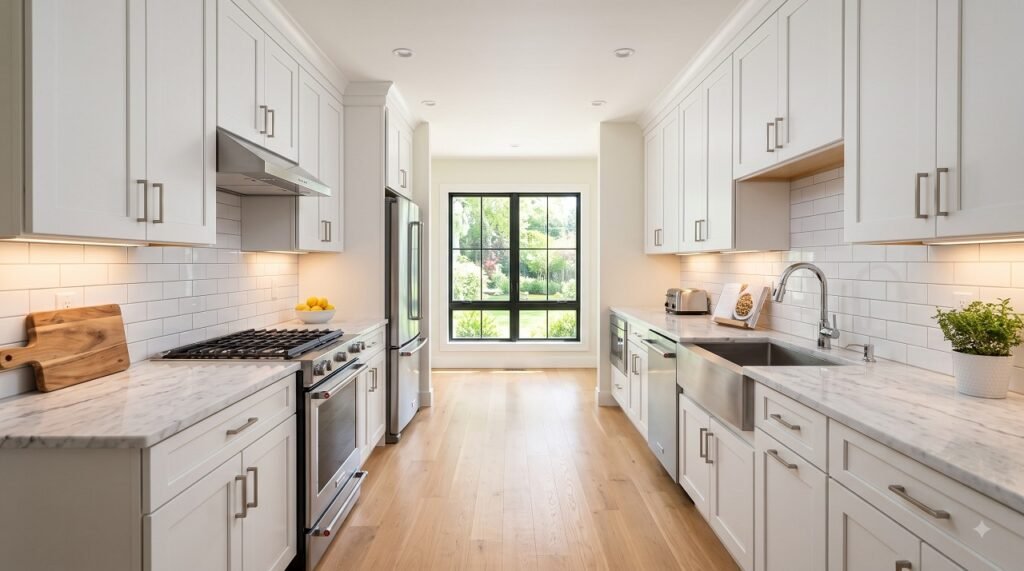
This is the most traditional galley layout. Both walls are lined with cabinets and countertops, with a walkway in between. The refrigerator typically sits at one end, with the sink on one wall and the stove on the opposite wall.
(Refer to the featured image above.)
Key measurements:
- Aisle width: 42 inches minimum for a single cook-4
- Counter depth: 24 inches standard
- Walking path: Clear of obstacles
Pro tip: Mirror the work triangle across the two runs—place the sink opposite the range to reduce transport time between rinsing and cooking-1.
Layout 2: Single-Wall Galley with Open Side
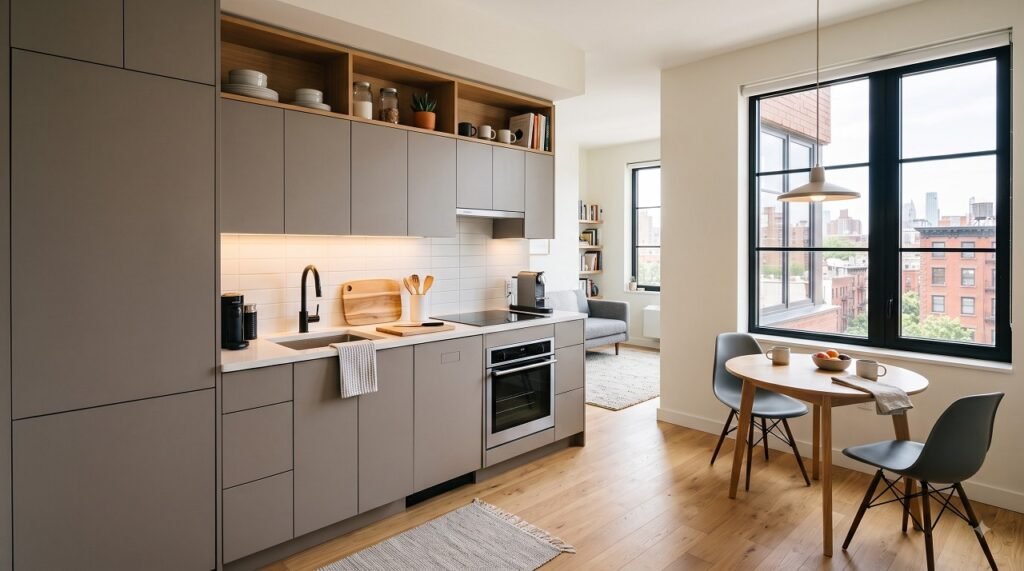
Best for: Kitchens under 7 feet wide or spaces that double as a hallway
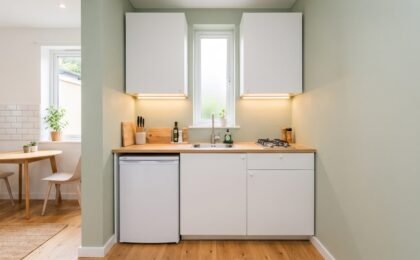
Only one wall contains cabinets and appliances, leaving the opposite side open. This works well in studio apartments or open-plan living spaces where the kitchen needs to feel less enclosed-2.
Key measurements:
- Minimum wall length: 8–9 feet to fit fridge, sink, and cooktop comfortably-52
- Clear floor space on open side: At least 36 inches
Pro tip: Group the fridge, sink, and hob in a way that feels natural, and keep surfaces clear to maintain the open feel-.
Layout 3: Galley with Island (Narrow Island)
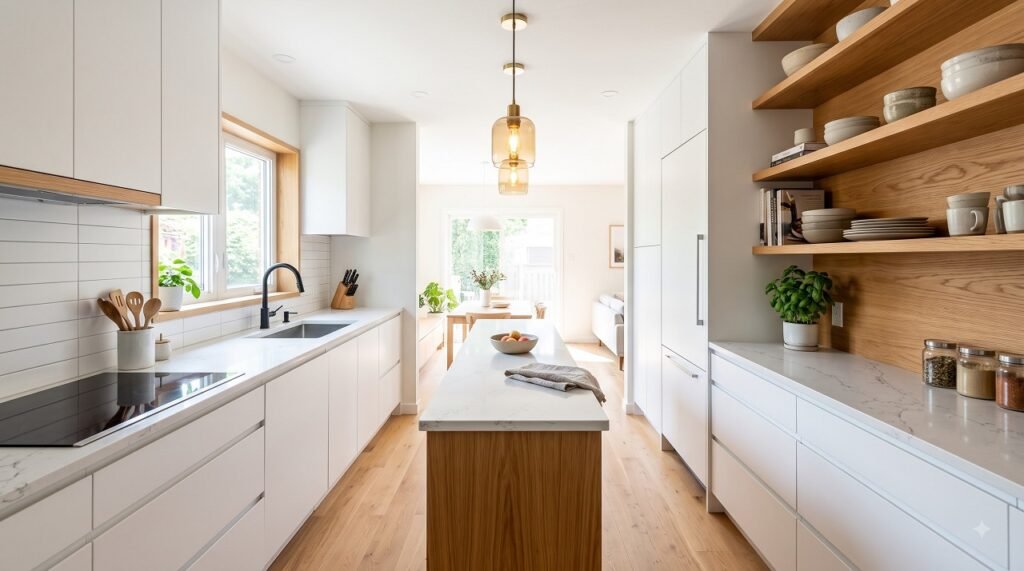
Best for: Kitchens at least 10 feet wide where you want extra prep space
Yes, you can have an island in a galley kitchen—but it must be narrow. A 24-inch deep island with 36-inch height works well for prep and casual dining-3.
Key measurements:
- Island depth: 24–27 inches-3
- Clearance on both sides: 36–42 inches minimum to prevent bottlenecks-3
- Aisle width with island: At least 36–42 inches-4
Pro tip: If seating is essential, plan a 12-inch knee space overhang on one side and reserve the opposite face for storage-3.
Layout 4: Galley with Mobile Cart
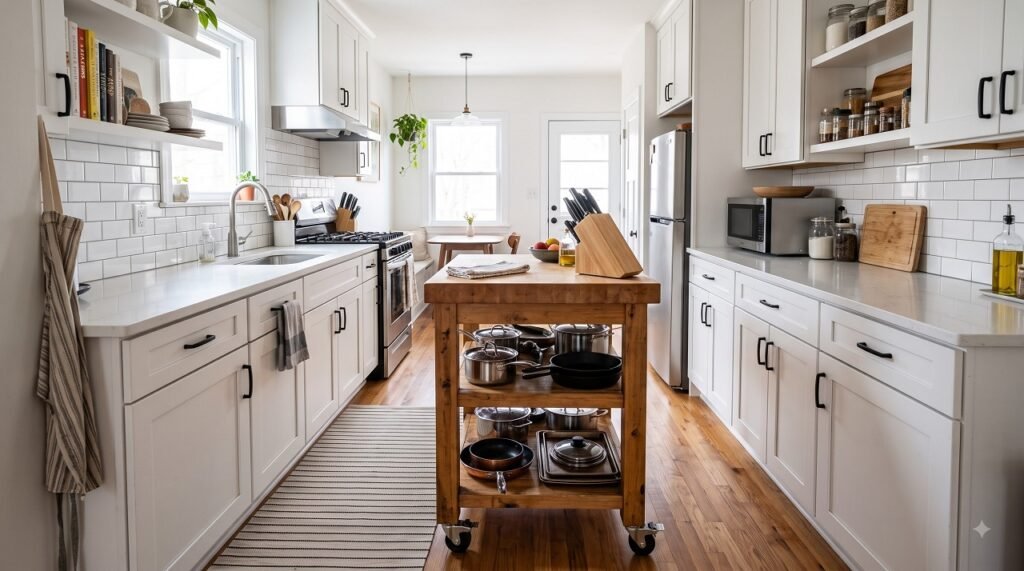
Best for: Renters or budget-conscious renovations
A rolling cart gives you prep space and storage without permanent installation. It tucks away when not in use, making it a flexible alternative to a built-in island-4.
Key measurements:
- Cart width: 18–24 inches
- Clearance when cart is in use: Same as island—36–42 inches
Pro tip: Choose a cart with locking wheels and a butcher-block top for maximum versatility.
Layout 5: L-Shaped Galley Hybrid
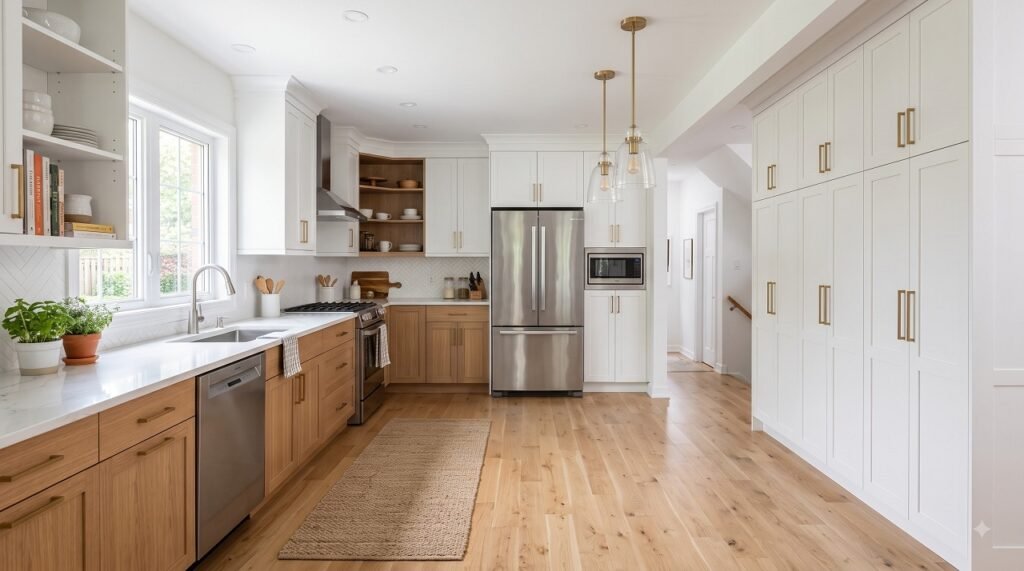
Best for: Kitchens where one wall is shorter than the other
Instead of two full parallel runs, one wall extends into an L-shape at the end, creating additional counter space without sacrificing the walkway-11.
Key measurements:
- Aisle width: 36 inches minimum for a single cook, 42 inches if two people work side-by-side-12
- Counter run on longer wall: At least 6 feet
Pro tip: Place the cooktop on the longer run and keep the shorter return clear for prep-11.
Layout 6: Galley with Peninsula
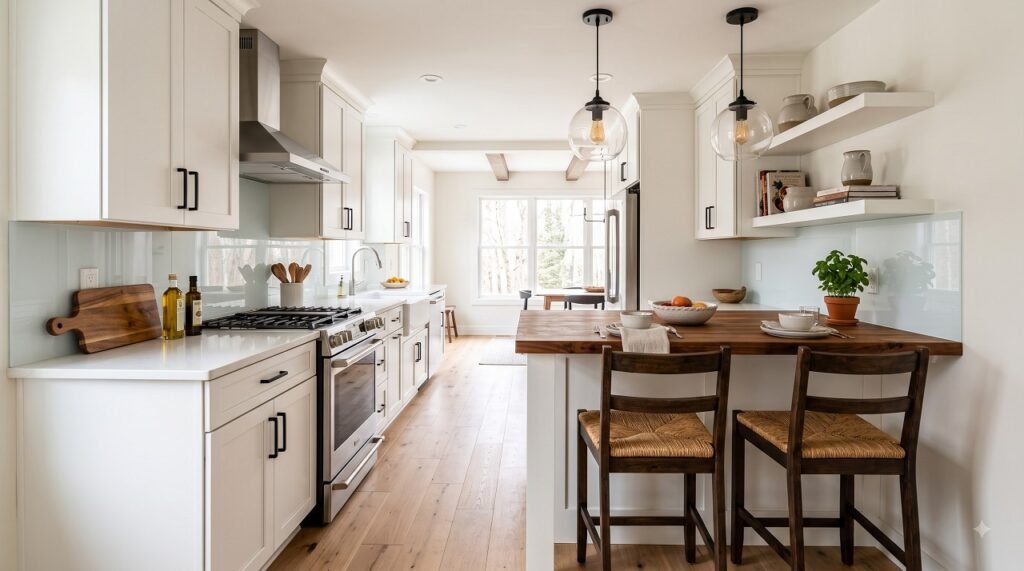
Best for: Kitchens needing a visual divider or breakfast bar
A slim peninsula extending from one wall creates extra prep space and can include seating, functioning like an island without reclaiming too much floor area-52.
Key measurements:
- Peninsula depth: 12–18 inches-52
- Clearance between peninsula and opposite wall: At least 36 inches-52
- Overhang for seating: 12 inches minimum
Pro tip: Use a rounded or chamfered edge on the peninsula to soften traffic flow-3.
Layout 7: U-Shaped Galley (Short Legs)
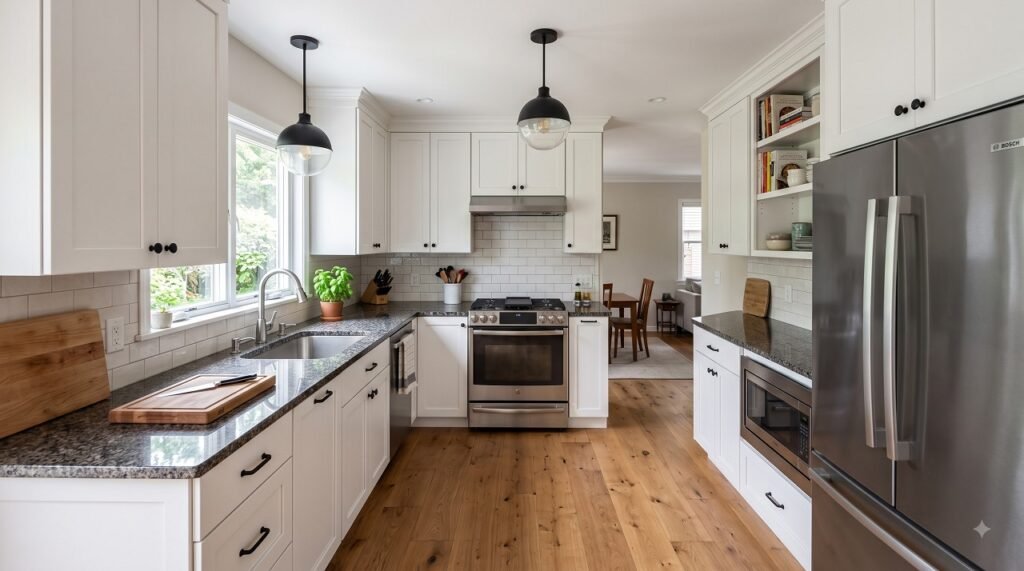
Best for: Square-ish narrow kitchens under 100 sq ft
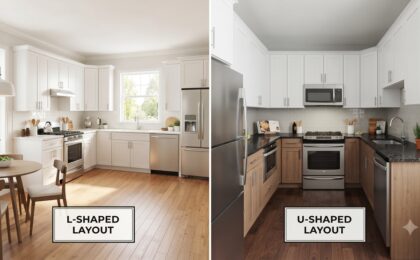
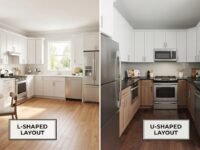
When one end of the galley has an additional wall, you can create a U-shape. This maximizes storage and counter space but requires careful planning to avoid a cramped feel-21.
Key measurements:
- Minimum dimensions: 7–8 feet across the legs of the U-21
- Center clearance: 42–48 inches-22
- Counter runs: At least 18–24 inches on either side of the stove-21
Pro tip: Lower upper cabinets or replace some with open shelving to avoid a boxy ceiling line-22.
Layout 8: Galley with Pull-Out Pantry
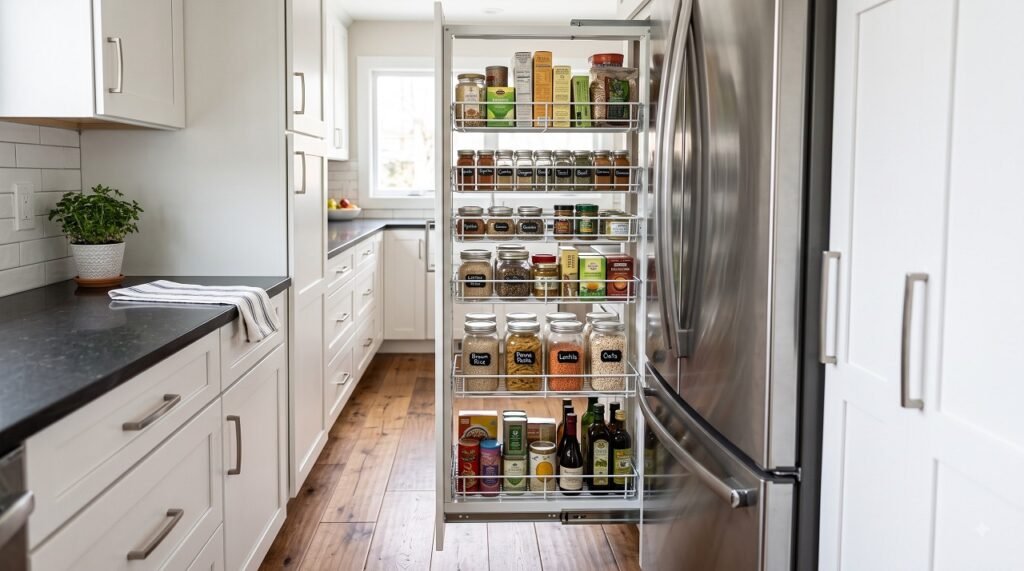
Best for: Kitchens lacking storage depth
Convert a shallow run into a pull-out pantry. This keeps counters clear and makes every inch usable-21.
Key measurements:
- Pull-out pantry depth: 12–18 inches
- Width: 15–24 inches
- Clearance for pull-out: Must fully extend without hitting opposite wall
Pro tip: Swapping a single base cabinet for a vertical pull-out can increase usable storage by up to 20%-21.
Layout 9: Galley with Fold-Down Counter/Breakfast Nook
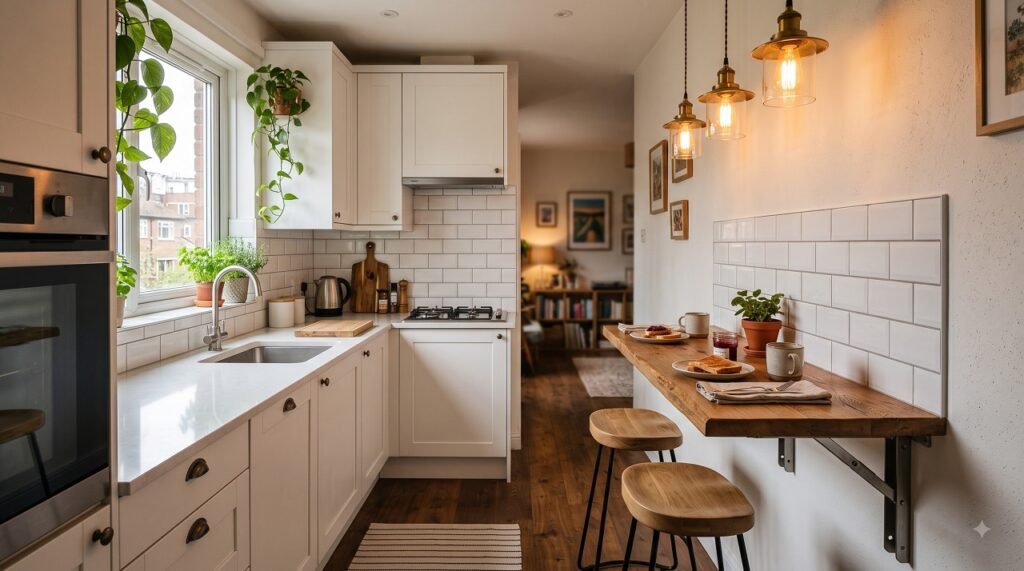
Best for: Kitchens where a dining table won’t fit
Add a fold-down counter at the end of one run. It doubles as prep space, dining surface, or even a laptop desk-21.
Key measurements:
- Fold-down counter height: 36 inches (standard counter height)
- Fold-down depth: 18–24 inches
- Clearance when folded down: Must not block the walkway
Pro tip: A DIY floating shelf with a piano hinge is one of the most cost-effective ways to add this feature-21.
Layout 10: Galley with Built-in Seating Ledge
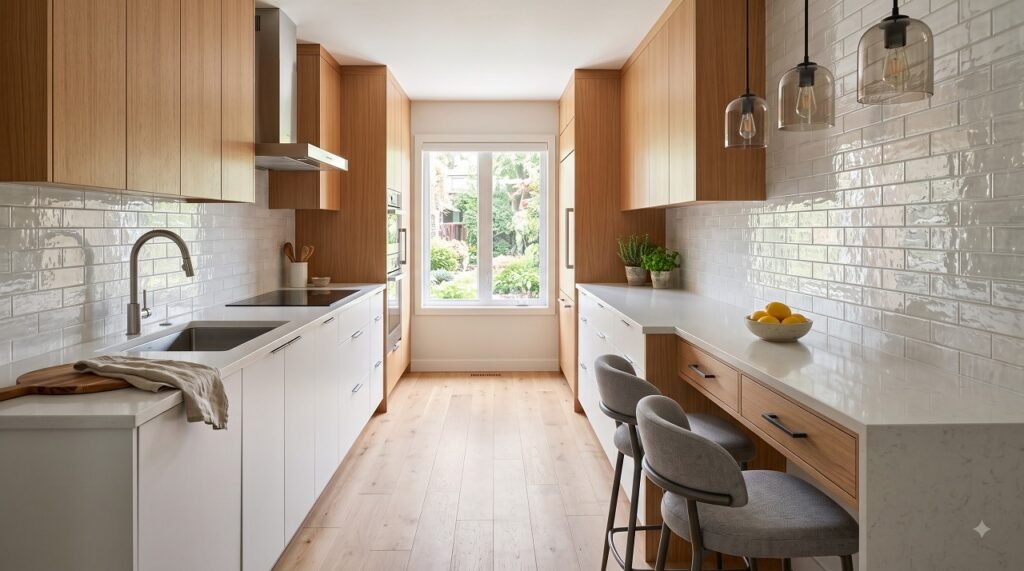
Best for: Kitchens that double as social spaces
A continuous counter that ends with a built-in seating ledge maximizes usable surface while creating a casual dining spot-52.
Key measurements:
- Seating ledge height: 36 inches (bar height)
- Seating ledge depth: 12–18 inches
- Knee space underneath: 12 inches minimum
Pro tip: Include storage underneath the seating bench for maximum functionality-52.
Essential Measurements & Clearances
| Measurement | Recommended Minimum | Notes |
|---|---|---|
| Aisle width (single cook) | 42 inches-4 | 48 inches preferred for two cooks |
| Aisle width with island | 36–42 inches-4 | Keep appliance doors from clashing-3 |
| Counter depth | 24 inches | Standard |
| Counter depth (island) | 24–27 inches-3 | |
| Clearance around island | 36–42 inches-3 | |
| Work triangle total | 48–120 inches per leg- | |
| Minimum width for galley | 7–8 feet-21 | Can squeeze into 6 feet with compact appliances |
Design Tips for Galley Kitchens
1. Use Continuous Counters and Back Panels
Long, uninterrupted countertops and matching backsplashes visually elongate a galley kitchen, making it feel cleaner and wider-1. Recess small appliances into cubbies so the counter stays clear-1.
2. Embrace Vertical Storage
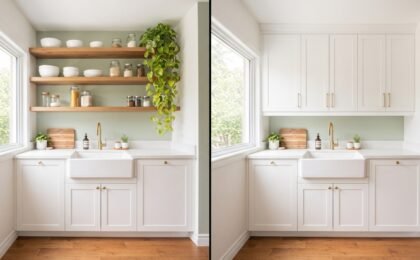
When floor footprint is small, think up. Tall cabinets, full-height pantries, and open shelving above counters make a huge difference-1. Mix closed upper cabinets with a few open shelves for frequently used items—it breaks up the visual weight and keeps essentials handy-1.
3. Optimize Lighting and Reflective Surfaces
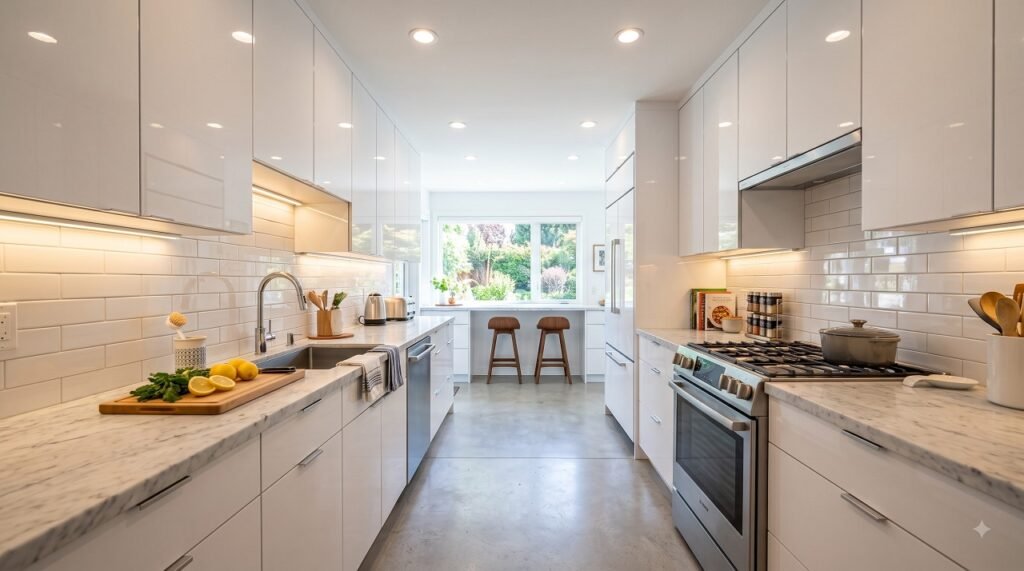
Good lighting tricks the eye into seeing more space-1. Layer recessed ceiling lights, under-cabinet strips, and a polished backsplash to bounce light down the corridor-1. Reflective surfaces like glossy cabinets or a mirrored splash can widen perception-1.
4. Create Flexible Seating Solutions
Seating in a galley kitchen should never block flow. Fold-down tables, pull-out stools under counters, or a narrow banquette at one end keep social function without sacrificing movement-1.
5. Start with What Cannot Move
Begin with windows, doors, soil pipes, and boiler positions. These fixed points will largely determine where your sink, hob, and key appliances sit-2.
6. Choose Slim Appliances
Compact appliances—a 24-inch dishwasher, a 30-inch range, or drawer microwaves—can preserve circulation without sacrificing capability-21. Swapping a bulky range for a slimmer induction cooktop can free up 8–10 inches of prep space-22.
7. Use Light Colors and Reflective Finishes
High-gloss cabinet faces, pale continuous backsplashes, and under-cabinet lights visually expand a galley and improve task visibility-4. Light cabinetry and reflective surfaces reduce the boxed-in feeling-21.
Frequently Asked Questions
What is the ideal width for a galley kitchen?
The National Kitchen & Bath Association (NKBA) recommends at least 42 inches between countertops for a single cook, with 48 inches or more preferred for two cooks. This ensures adequate circulation and appliance door clearance-4.
Can a galley kitchen have an island?
Yes, but it must be narrow—typically 24 inches deep—with at least 36–42 inches of clearance on either side-4. A mobile cart is a flexible, lower-cost alternative-4.
What flooring works best in narrow kitchens?
Long, narrow planks laid lengthwise along the galley visually elongate the room. Porcelain tile or resilient vinyl are great for durability and water resistance-4.
How do I make a galley kitchen feel less cramped?
Use light colors, reflective surfaces, and continuous countertops to create visual flow-4. Open shelving and under-cabinet lighting reduce visual weight and brighten the space-4.
What is the minimum width for a one-wall galley?
You need at least 8–9 feet of wall to fit a fridge, sink, and cooktop comfortably with some prep space between them-52.
Conclusion
A galley kitchen is not a limitation—it’s an opportunity. With the right layout, smart storage solutions, and thoughtful design choices, even the narrowest kitchen can become a highly efficient, beautiful space that works perfectly for your needs.
Start by measuring your space, identifying fixed elements like windows and doors, and choosing a layout from the ten options above that best fits your dimensions and lifestyle. Remember: small kitchens force you to be decisive and creative-4—and that often leads to the most satisfying results.
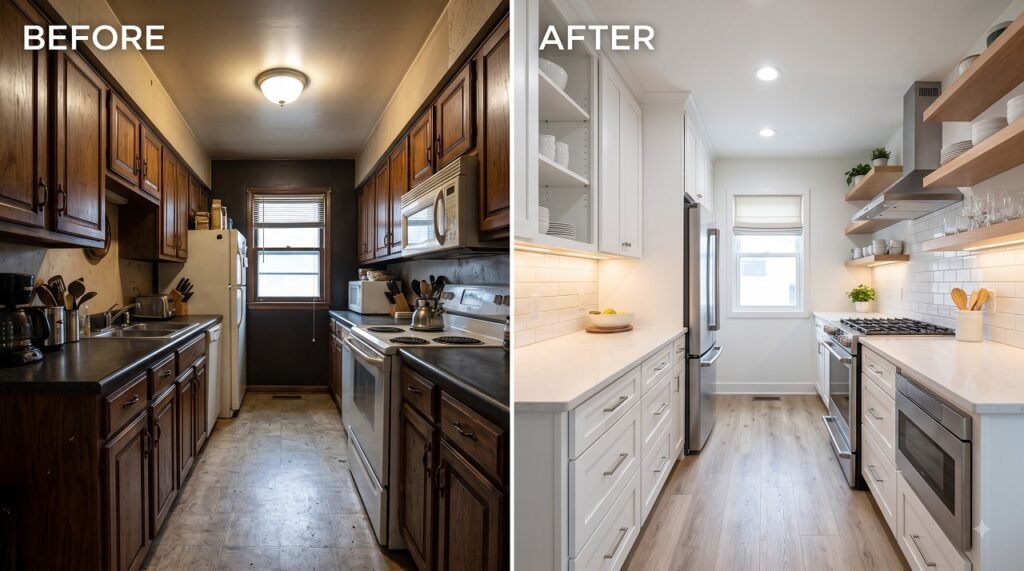
Whether you choose a classic double galley, a layout with a narrow island, or a fold-down breakfast nook, the key is to prioritize flow, functionality, and the features that matter most to how you actually cook and live.






[…] View 10 Galley Kitchen Layouts → […]
[…] and a full-size sink and a full hob on 5 feet. Accept that early and choose your compromise—the single-wall galley layouts in our galley kitchen guide show exactly which combination works in a slim […]