


October 21, 2026
7 Paint Colors that Visually Double
Introduction
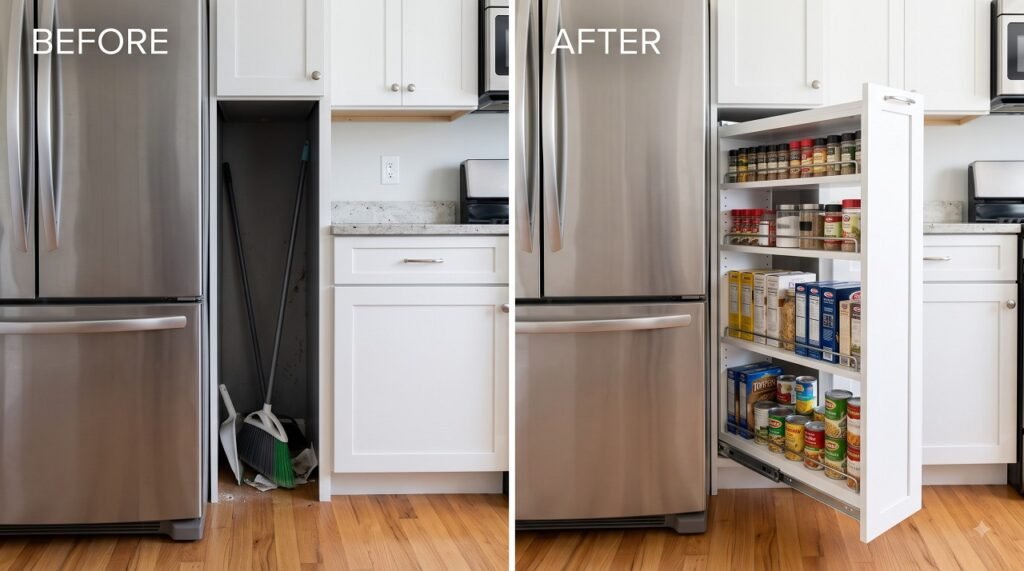
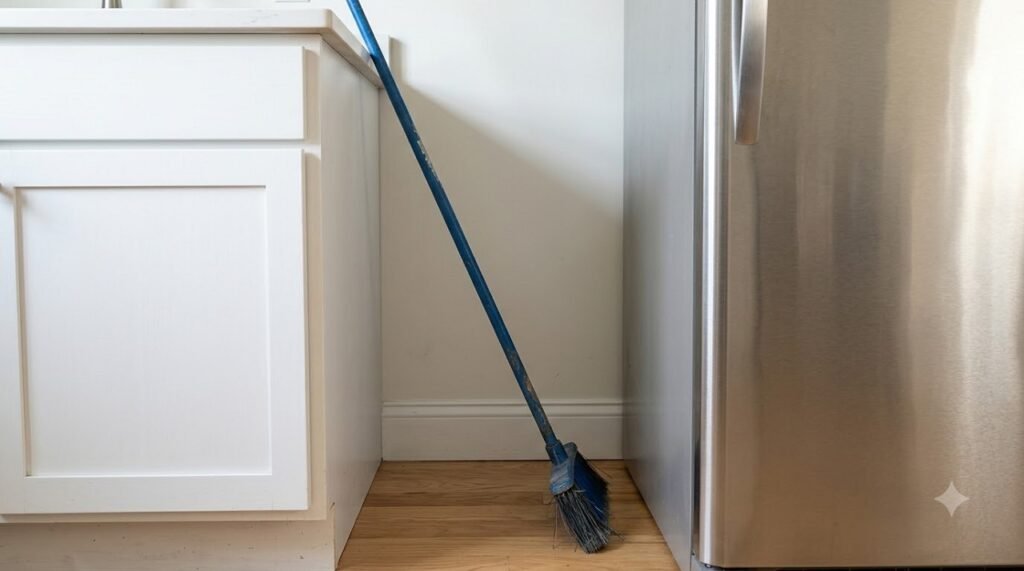
Every small kitchen has one: a narrow, useless gap between the refrigerator and the wall, between two cabinets, or at the end of a counter run. It’s usually about 10 to 12 inches wide.
Most people try to shove a broom in there, or they just let it collect dust and dust bunnies. But that 12-inch gap is actually prime kitchen real estate.
If you do the math, a 12-inch wide, 24-inch deep, and 60-inch tall gap holds about 10 cubic feet of storage space. That’s equivalent to an entire standard upper cabinet.
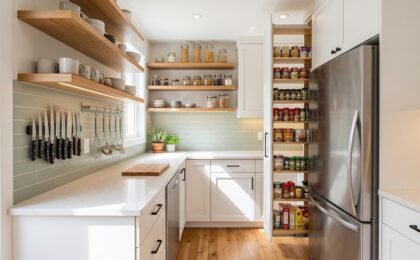
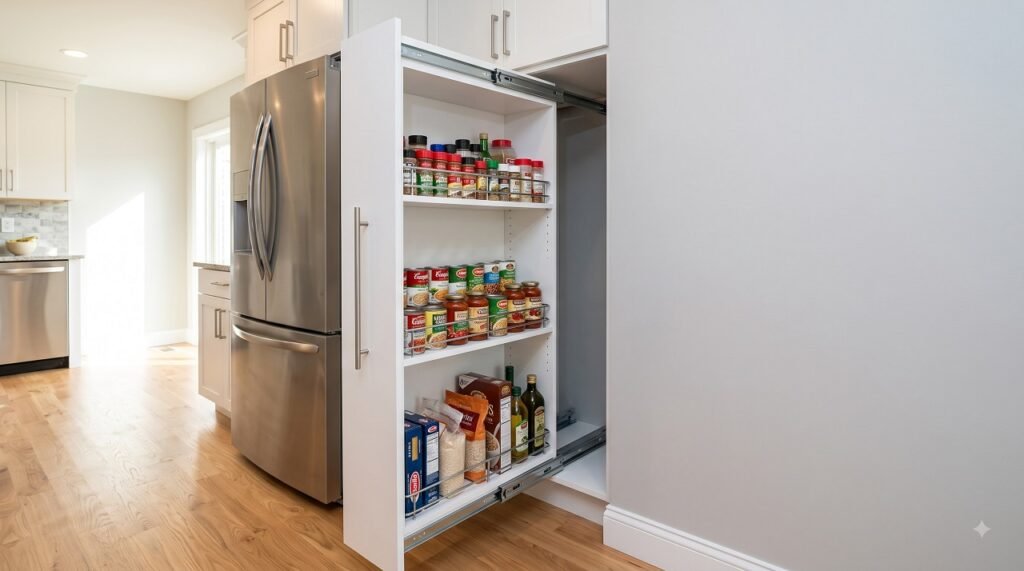
You don’t need to lose that space. You can turn it into a pull-out pantry—a tall, sliding unit that glides out to reveal perfectly organized shelves for spices, oils, canned goods, and dry goods.
In this guide, I’ll show you exactly how to build a custom pull-out pantry in a 12-inch gap, what materials you need, and the exact measurements to get it right on the first try. If you’re not handy, I’ll also cover the easiest no-build alternatives.
Why a 12-Inch Gap Is Prime Kitchen Real Estate
Standard base cabinets are 24 inches deep. If you have a 12-inch gap, you essentially have a 1-foot by 2-foot footprint of unused floor space.
When you convert this into a pull-out pantry, you get three massive benefits:
- Zero Wasted Depth: Standard cabinets are notorious for swallowing items at the back. A pull-out pantry brings the entire 24-inch depth into the light.
- Maximum Vertical Height: A custom pull-out can run from the floor almost to the ceiling, utilizing 60+ inches of vertical space.
- Easy Access: Instead of kneeling on the floor to reach a can of tomatoes in the dark, you pull a handle and the entire pantry slides out to you.
This is why the NKBA recommends pull-out solutions for maximizing small kitchen storage footprints.
What You Need (Materials & Tools)
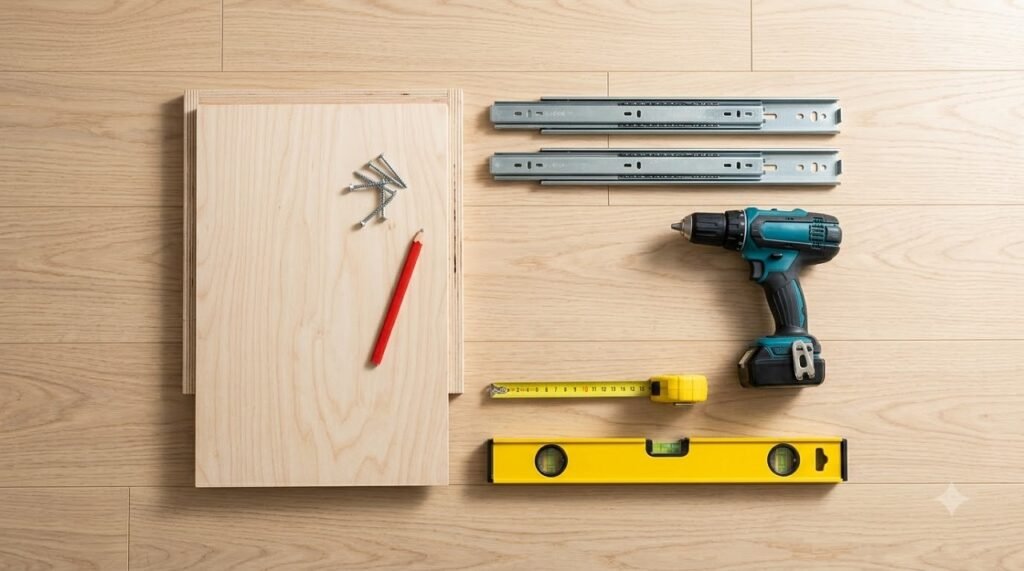
Materials:
- 1/2-inch or 5/8-inch plywood or melamine (for the frame and shelves; 1/2-inch is lighter and saves space)
- Heavy-duty drawer slides (critical: you need bottom-mount or side-mount slides rated for at least 100 lbs)
- 1-inch wood screws (for assembly)
- Edge banding (if using plywood)
- Cabinet face panel & handle (to match your kitchen)
- Wire baskets or custom wood shelves
Tools:
- Tape measure & pencil
- Stud finder & level
- Circular saw or table saw
- Drill/driver
- Rubber mallet
Step 1: Measure Your Gap (Crucial Step)
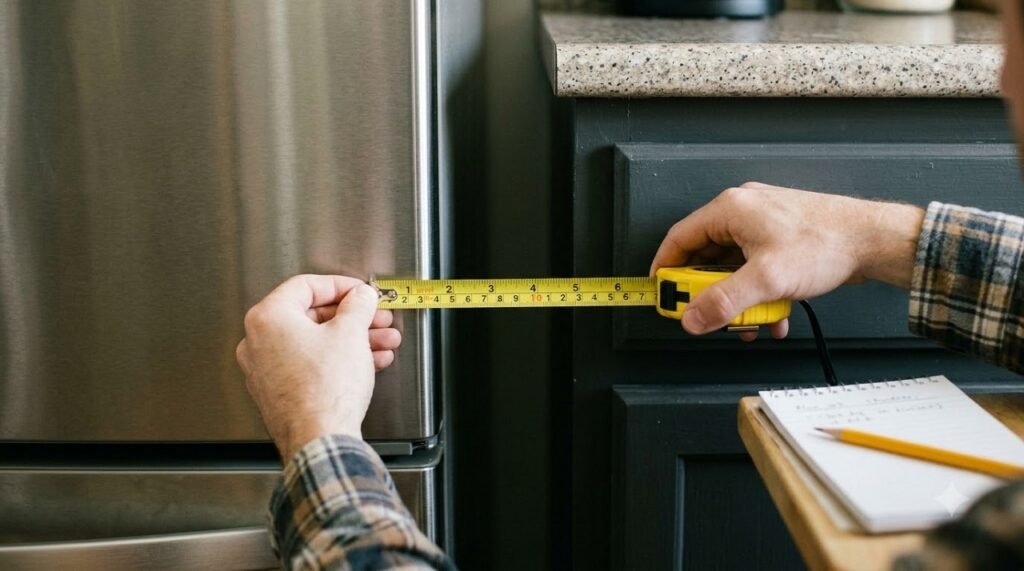
You cannot build this based on the “12-inch” label. You must measure the exact rough opening.
- Measure the width at the top, middle, and bottom of the gap. Use the smallest measurement to account for crooked walls or refrigerator vibrations.
- Measure the depth: from the back wall to the front edge of the adjacent cabinet.
- Measure the height: from the floor to the countertop overhang (or to your desired stopping point).
The Math:
Let’s say your smallest width is 11.75 inches.
You need to subtract the thickness of your slides. Standard side-mount slides take up about 0.5 inches on each side (1 inch total).
So, your pantry frame can only be 10.75 inches wide. If you use 1/2-inch plywood for the sides, your internal shelf width will be 9.75 inches.
Pro tip: Leave at least 1/4-inch clearance at the top so the unit doesn’t scrape the countertop when pulling it out.
Step 2: Build the Pull-Out Frame
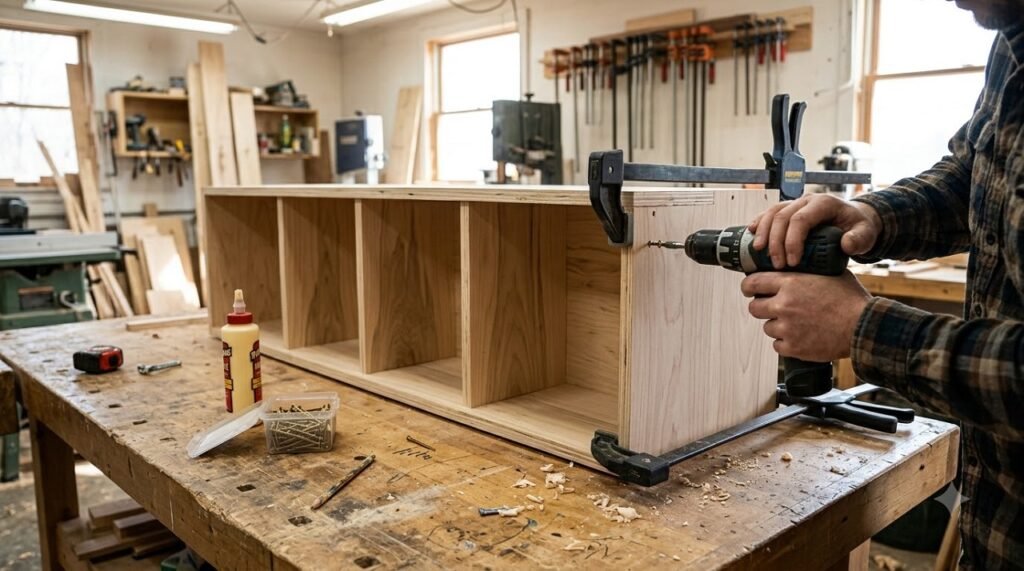
You are building a tall, narrow box (similar to a giant drawer).
- Cut your wood. You need two tall side panels, one top panel, one bottom panel, and a back panel.
- Assemble the box. Screw the sides to the bottom and top panels.
- Add a back panel for structural rigidity.
- Add your shelves. Determine the spacing based on what you want to store (e.g., 8 inches for cereal boxes, 5 inches for cans, 4 inches for spices). Secure the shelves with screws from the outside of the side panels.
Step 3: Install the Heavy-Duty Slides
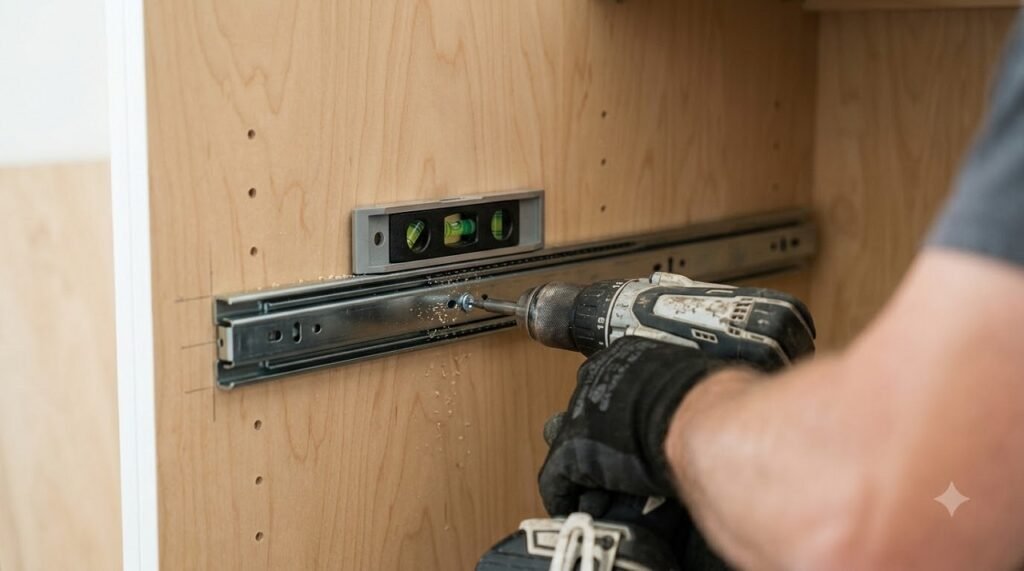
This is where most DIY pull-out pantries fail. Do not use cheap drawer slides.
A fully loaded 12-inch pull-out pantry can weigh 60 to 80 pounds. You need heavy-duty, full-extension slides (rated 100 lbs or more).
- Mount the cabinet member of the slide to the inside wall of your kitchen cabinet or the refrigerator side.
- Mount the drawer member to the outside of your newly built pantry frame.
- Crucial Step: Use a spacer block or masking tape to ensure the slides are perfectly level and parallel. If they are off by even 1/8 inch, the pantry will bind and be hard to pull out.
Step 4: Assemble the Shelves & Baskets
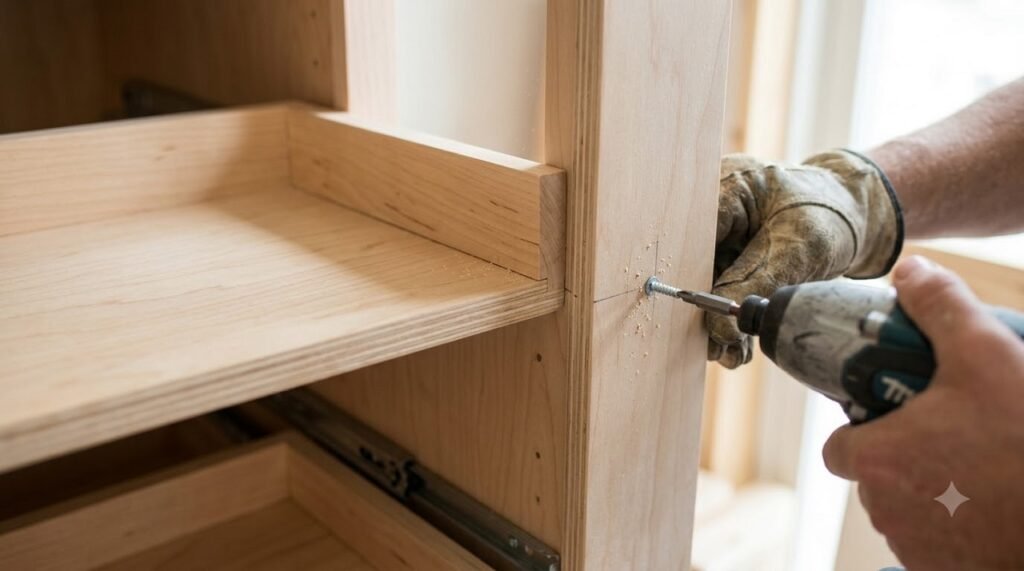
You have two options for the interior:
- Solid wood shelves: Cheaper, custom, and you can add small wooden rails to prevent items from falling off the back.
- Wire baskets: Easier to clean, and they let you see through them.
If you use solid shelves, add a 2-inch lip (a small wall) at the back and sides of each shelf. When you yank the pantry open, cans shouldn’t fall out the back.
Step 5: Attach the Face Panel & Handle
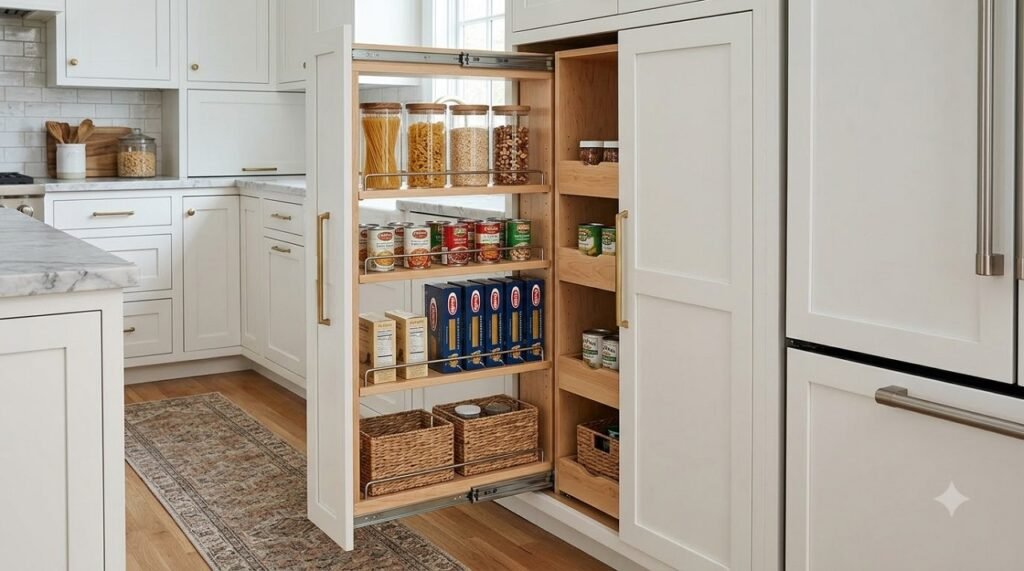
To make the pantry look built-in, cut a piece of wood or MDF that matches your kitchen cabinets.
- Attach the face panel to the front of the pull-out frame from the inside using screws.
- Attach a handle or a slim vertical pull bar.
- Make sure the face panel doesn’t rub against the refrigerator or the adjacent cabinet.
(If you want to see how professional carpenters frame these without hitting pipes, This Old House has excellent tutorials on installing cabinet fillers.)
The No-Build Alternative: Pre-Made Slim Pantries
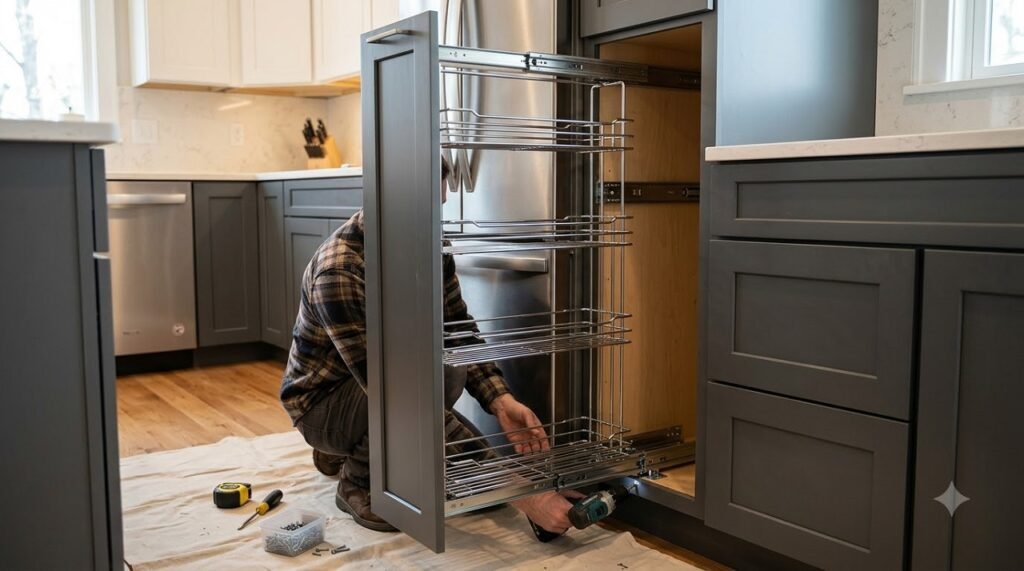
If you don’t have a saw or the confidence to build a box from scratch, you don’t have to give up on the idea.
You can buy pre-made slim pull-out pantries. Companies like Rev-A-Shelf make 3-inch, 6-inch, 8-inch, and 11-inch pull-out units that come pre-assembled.
How to use them:
- Measure your gap.
- Order a pre-made pull-out that is slightly smaller than your gap.
- Mount the slides to the cabinet wall using the included hardware.
- Drop the unit in.
They usually cost between $100 and $250, which is more expensive than plywood, but saves you hours of labor.
Looking for more ways to utilize awkward kitchen spaces? Check out our guide on 20 Vertical Storage Ideas to Free Up Your Countertops for tension rods, pegboards, and other slim-gap hacks.
🔍 Need More Small Kitchen Storage Hacks?
We rounded up 20 vertical storage solutions for small kitchens—magnetic strips, floating shelves, and slim pull-outs—with cost breakdowns for each.
View 20 Vertical Storage Ideas →How to Organize Your 12-Inch Pull-Out Pantry
A 12-inch pantry is narrow, so organizing it requires a specific strategy:
- Top Shelves: Spices, baking extracts, and small jars.
- Middle Shelves: Canned goods, pasta boxes, and cooking oils (use a lazy Susan on the shelf for better access).
- Bottom Shelves: Heavy items like bulk potatoes, onions, large bottles of vinegar, and the slow cooker.
- The Door: Use the inside of the adjacent cabinet door or the side of the fridge for magnetic spice racks to complement the pantry.
🧲 Maximize Your Wall Space Next
If you’re building out your pantry storage, don’t forget the walls! Learn how to use magnetic spice racks and pot holders to free up even more counter space.
Magnetic Wall Storage Guide →6 Common Mistakes to Avoid
- Skipping the stud finder. If you are mounting a pull-out pantry to a drywall wall, you must screw the slides into wall studs. A fully loaded pantry will rip right out of drywall.
- Buying standard drawer slides. They will break. Buy heavy-duty slides (100 lb+ capacity).
- Not measuring the slope of the floor. If your kitchen floor slopes, measure the height of the gap at the back and the front. Build the pantry to the shortest height.
- Forgetting the slide thickness. Subtract 1 inch from your total gap width to account for the slides and clearance.
- Overloading the top shelves. Keep the heaviest items at the bottom to keep the pull-out balanced.
- Ignoring the fridge door swing. Make sure your refrigerator door can still open fully without hitting your new pantry handle.
Frequently Asked Questions
Can I fit a pull-out pantry in a 12-inch gap?
Yes. A 12-inch gap is the ideal size for a slim pull-out pantry. After accounting for the thickness of the cabinet sides and the drawer slides, you will have about 9 to 10 inches of usable interior shelf width—enough for standard cans and boxes.
What is the minimum width for a pull-out pantry?
The absolute minimum width for a functional pull-out pantry is 6 inches. Below that, standard cans won’t fit. However, 6-inch pull-outs are perfect for spices and baking sheets.
How much weight can pull-out pantry slides hold?
Standard drawer slides hold 50 to 75 lbs. You should buy heavy-duty slides rated for 100 lbs to 250 lbs for a pantry, depending on how much dry goods you plan to store.
Are pull-out pantries worth it?
Yes. In a small kitchen, a pull-out pantry maximizes the usable depth of a narrow cabinet. It prevents food from getting lost in the back and makes inventory easy to see.
How do I build a pull-out pantry without a saw?
You can buy a pre-made pull-out pantry unit (like those from Rev-A-Shelf) online or at home improvement stores. You only need a drill to mount the slides to your cabinet walls.
How do I stop items from falling off the shelves when I pull it out?
Add a 2-inch wooden lip or a metal rail to the back and sides of every shelf. This prevents taller items from tipping over when the pantry slides open.
Conclusion
That 12-inch gap next to your fridge isn’t a design flaw—it’s an opportunity. By building a custom pull-out pantry, you can reclaim up to 10 cubic feet of hidden storage space without losing a single inch of your floor plan.
If you’re handy, the DIY route costs about $50–$100 in materials and yields a custom-fit, heavy-duty solution. If you’re not, a pre-made slide-in unit takes 30 minutes to install and works just as well.
Either way, the next time you reach for a can of beans, you won’t be digging in the dark—you’ll just pull the handle and let the pantry come to you.